Non categorizzato
Replacing fuses and bulbs
Replacing fuses and bulbs is a fundamental skill for any motorcycle owner, ensuring safety and optimal performance on the road. Learn the best practices here!
Replacing Fuses and Bulbs: A Comprehensive Guide for Motorcycle Owners
When it comes to maintaining your motorcycle, replacing fuses and bulbs is an essential task that every rider should master. Not only does it keep your bike in optimal condition, but it also ensures your safety and the safety of others on the road. Whether you’re troubleshooting electrical issues or simply upgrading your lighting, knowing how to replace fuses and bulbs can save you time, money, and frustration.
In this guide, we’ll explore everything you need to know about replacing fuses and bulbs, step-by-step instructions, tools you’ll need, common mistakes to avoid, and tips for long-term maintenance.
Why Is Replacing Fuses and Bulbs Important?
The electrical system of a motorcycle is the backbone of its functionality. Faulty fuses and burnt-out bulbs can lead to issues such as:
- Reduced visibility at night or during adverse weather conditions.
- Malfunctioning indicators and brake lights, increasing the risk of accidents.
- Compromised electrical circuits that may lead to bigger and costlier repairs.
By replacing fuses and bulbs when necessary, you can avoid these problems and ensure your motorcycle remains roadworthy.
Tools and Equipment Needed for Replacing Fuses and Bulbs
Before you start, gather the following tools and materials:
- A set of replacement fuses and bulbs (consult your motorcycle manual for specifications).
- A multimeter to test electrical circuits.
- Screwdrivers (Phillips and flathead) for removing covers.
- Pliers for handling delicate components.
- Gloves to avoid fingerprints on bulbs and protect against electric shock.
Step-by-Step Guide to Replacing Fuses and Bulbs
Step 1: Identify the Problem
If you notice a light that’s not functioning or an electrical issue, the first step is to identify whether it’s a blown fuse or a faulty bulb. Use your motorcycle manual to locate the fuse box and bulb compartments.
Step 2: Turn Off the Power
For safety reasons, always switch off your motorcycle and disconnect the battery before working on any electrical components.
Step 3: Inspect the Fuses
Remove the fuse box cover and visually inspect the fuses. A blown fuse will have a broken metal strip inside or a cloudy appearance. Use a multimeter to confirm.
Step 4: Replace the Fuse
Replace the blown fuse with one of the same rating (measured in amps). Using a fuse with a different rating can damage your electrical system.
Step 5: Inspect the Bulbs
Remove the bulb from its socket and check for any visible damage, such as a broken filament. If unsure, use a multimeter to test its continuity.
Step 6: Replace the Bulb
Insert a new bulb of the same type and wattage. Avoid touching the glass surface with your bare hands, as oils from your skin can reduce the bulb’s lifespan.
Step 7: Test the System
Reconnect the battery and test your lights and electrical systems to ensure everything is functioning correctly.
Common Mistakes to Avoid When Replacing Fuses and Bulbs
- Using the Wrong Fuse Rating: Always replace fuses with ones that match the specified amperage.
- Handling Bulbs Incorrectly: Touching the bulb’s surface can lead to premature failure.
- Ignoring the Root Cause: If fuses or bulbs keep failing, investigate potential underlying electrical issues.
- Skipping the Manual: Each motorcycle has unique specifications. Refer to the manual to avoid errors.
Benefits of Mastering Replacing Fuses and Bulbs
- Save Money: Avoid costly visits to the mechanic for simple fixes.
- Enhance Safety: Ensure your lights and electrical systems are always functional.
- Boost Confidence: Feel empowered to handle basic motorcycle maintenance tasks.
Comparison Table: Types of Motorcycle Bulbs
| Bulb Type | Pros | Cons | Recommended Use |
|---|---|---|---|
| Halogen | Affordable and widely available | Shorter lifespan | Standard headlights and signals |
| LED | Energy-efficient and long-lasting | Higher upfront cost | Upgrades for better visibility |
| HID (Xenon) | Bright and powerful | Requires a ballast to install | High-performance motorcycles |
How to Learn More About Motorcycle Maintenance?
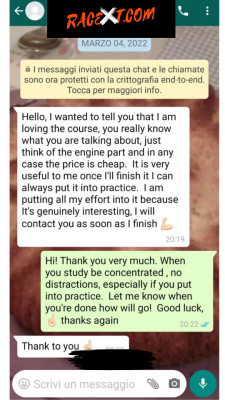
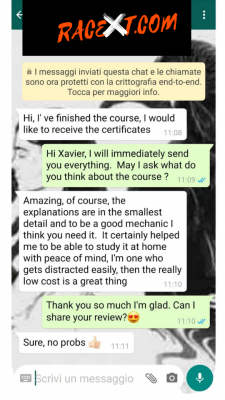
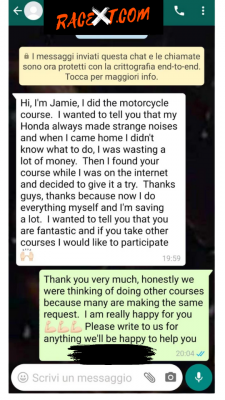
If you’re interested in learning more about maintaining your motorcycle, including replacing fuses and bulbs, consider enrolling in a specialized course. The Motorcycle Mechanics Course offers in-depth tutorials, practical tips, and expert guidance for both beginners and experienced riders.
Frequently Asked Questions (FAQs)
1. How do I know if a fuse is blown?
A blown fuse typically has a broken metal strip inside or appears cloudy. You can also test it with a multimeter for confirmation.
2. Can I use any bulb as a replacement?
No, you should always use a bulb that matches the specifications in your motorcycle manual. Using the wrong bulb can lead to electrical issues or poor performance.
3. Why do my fuses keep blowing?
Repeatedly blown fuses indicate an underlying electrical problem, such as a short circuit or overloaded circuit. Consult a professional mechanic if the issue persists.
4. Is it difficult to replace fuses and bulbs on a motorcycle?
Replacing fuses and bulbs is relatively simple with the right tools and guidance. Following a detailed guide, like this one, makes the process manageable for most motorcycle owners.
Conclusion
Mastering the art of replacing fuses and bulbs is an essential skill for every motorcycle enthusiast. Not only does it ensure your bike remains safe and functional, but it also builds your confidence in handling minor maintenance tasks. For those looking to deepen their knowledge and skills, the Motorcycle Mechanics Course is the perfect resource to take your expertise to the next level. Don’t wait—equip yourself with the skills you need today!